How to Upgrade Your PlayStation Storage Without Breaking the Bank
9 July 2025
So, you've run out of space on your PlayStation, haven't you? If you're anything like me, you've faced this frustrating scenario: you're mid-download for that brand-new, mega-hyped game, and suddenly, boom—your console smacks you with the dreaded "Not Enough Storage" message. Annoying, right? The good news is, you don’t have to choose between deleting your favorite games or taking out a small loan for an upgrade. There are budget-friendly ways to add more storage to your PlayStation. Let’s dive into how you can do this without torching your wallet. 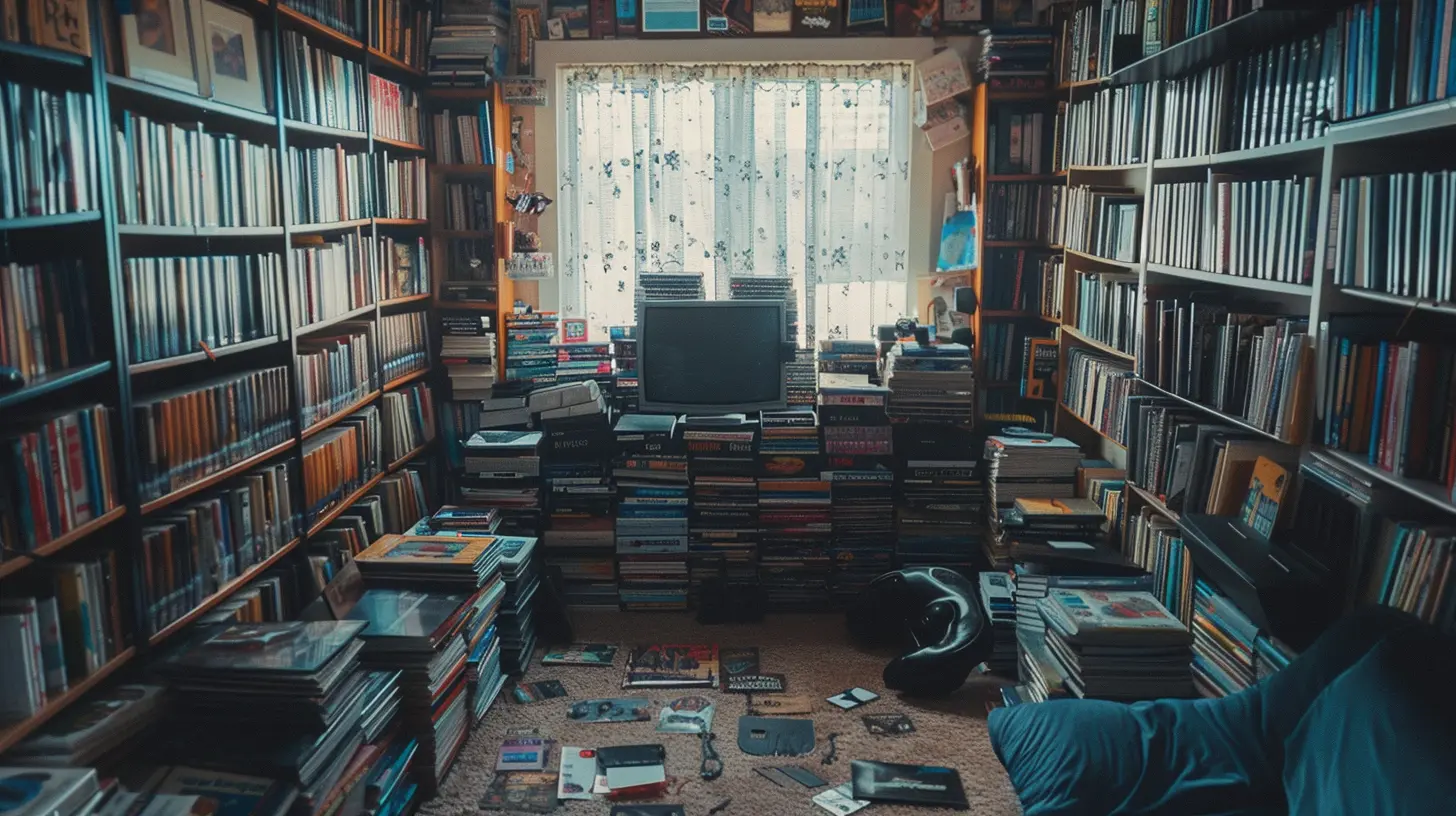
Why You Might Need More Storage
With games getting bigger and more complex, storage is at a premium. AAA titles regularly exceed 100GB, and that doesn’t even account for patches, updates, or DLC. If you’re dealing with a PlayStation 4 (PS4) or a PlayStation 5 (PS5), the internal storage fills up ridiculously fast.And let's be real—most of us don't want to keep deleting games to make room for new ones. What if you feel like revisiting Red Dead Redemption 2 or The Last of Us Part II? Constantly uninstalling and reinstalling games? That's a pain in the neck.
So, what’s the solution? Expanding your storage. 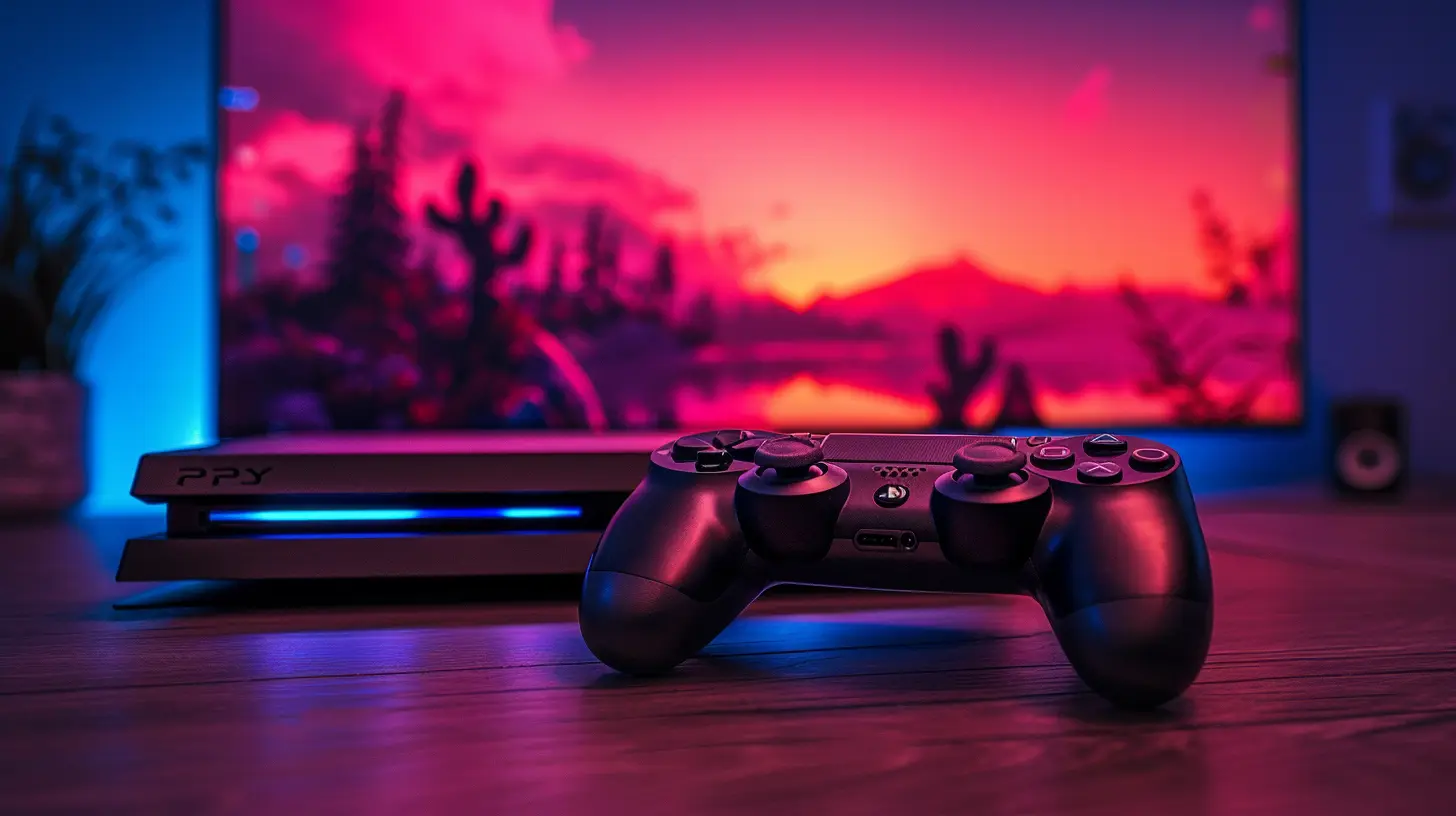
The Main Ways to Upgrade Your PlayStation Storage
There are two popular methods to expand PlayStation storage:1. Using an External Hard Drive (HDD) or Solid-State Drive (SSD)
2. Upgrading the Internal Storage Drive (for PS4 and PS5)
Each option has its pros and cons, but don't worry; I'm going to walk you through both so you can choose what works best for your setup and budget.
Method 1: External Storage (Easiest & Most Affordable Option)
External drives are the easiest and most budget-friendly solution to increase your PlayStation storage. They’re plug-and-play, and you don’t need to open your console, void any warranties, or mess with technical stuff.Step 1: Pick the Right Drive
When you’re shopping for an external drive, you’ll come across two main types:- Hard Disk Drives (HDDs): These are the cheaper option and provide a lot of storage per dollar. However, they’re slightly slower compared to SSDs.
- Solid-State Drives (SSDs): Faster and more reliable, but they tend to be more expensive.
An HDD is perfect if you’re on a tight budget, while an SSD is ideal if you want quicker load times.
Step 2: Check Compatibility
Your PlayStation has specific requirements for external storage:- PS4: Minimum of 250GB and a maximum of 8TB for the external drive.
- PS5: You can use external drives for PS4 games, but PS5 games can’t be played directly from external storage. PS5 games can, however, be stored on them as backup.
Step 3: Install and Format
1. Plug the external drive into the USB port of your PlayStation.2. Go to Settings > Devices > USB Storage Devices on your console.
3. Select your drive and click Format as Extended Storage.
Boom—you’re ready to use it. Quick, easy, and perfect for someone who doesn’t want to fuss with internal upgrades.
Method 2: Upgrading Internal Storage (For Tech-Savvy Gamers)
If you’re comfortable with tools and don’t mind tinkering a bit, upgrading your internal drive is another way to get more storage. This is especially appealing for PS4 users since it allows you to replace the internal drive with a larger one.PS4 Internal Storage Upgrade
1. Choose Your Replacement Drive:Look for a 2.5-inch SATA HDD or SSD. A 1TB drive is a solid choice, but if you want to future-proof, consider a 2TB drive.
2. Back Up Your Data:
Before you dive in, back up everything onto an external drive or the PlayStation cloud. No one wants to lose their saved games!
3. Open the Console:
- Turn off the PS4 completely and unplug all the cables.
- Slide off the top cover of your console.
- Unscrew and replace the factory-installed drive with your new one.
4. Reinstall System Software:
After installing the new drive, you’ll need a USB stick with the PlayStation system software file on it. Download it from PlayStation’s official website and follow the instructions.
PS5 Internal Storage Upgrade
The PS5 takes things up a notch with an internal SSD upgrade option.1. Buy a Compatible M.2 SSD:
Sony has a list of compatible M.2 SSDs that work with PS5. Make sure the SSD you buy matches the required specs (PCIe Gen4, 250GB–4TB, with a heatsink).
2. Install the SSD:
- Turn off your PS5 and remove the side panel.
- Locate the M.2 slot, unscrew the cover, and insert your SSD.
- Reassemble the console and format the drive through the system settings.
This method gives you blazing-fast storage and ensures that all your PS5 games stay directly on the console. 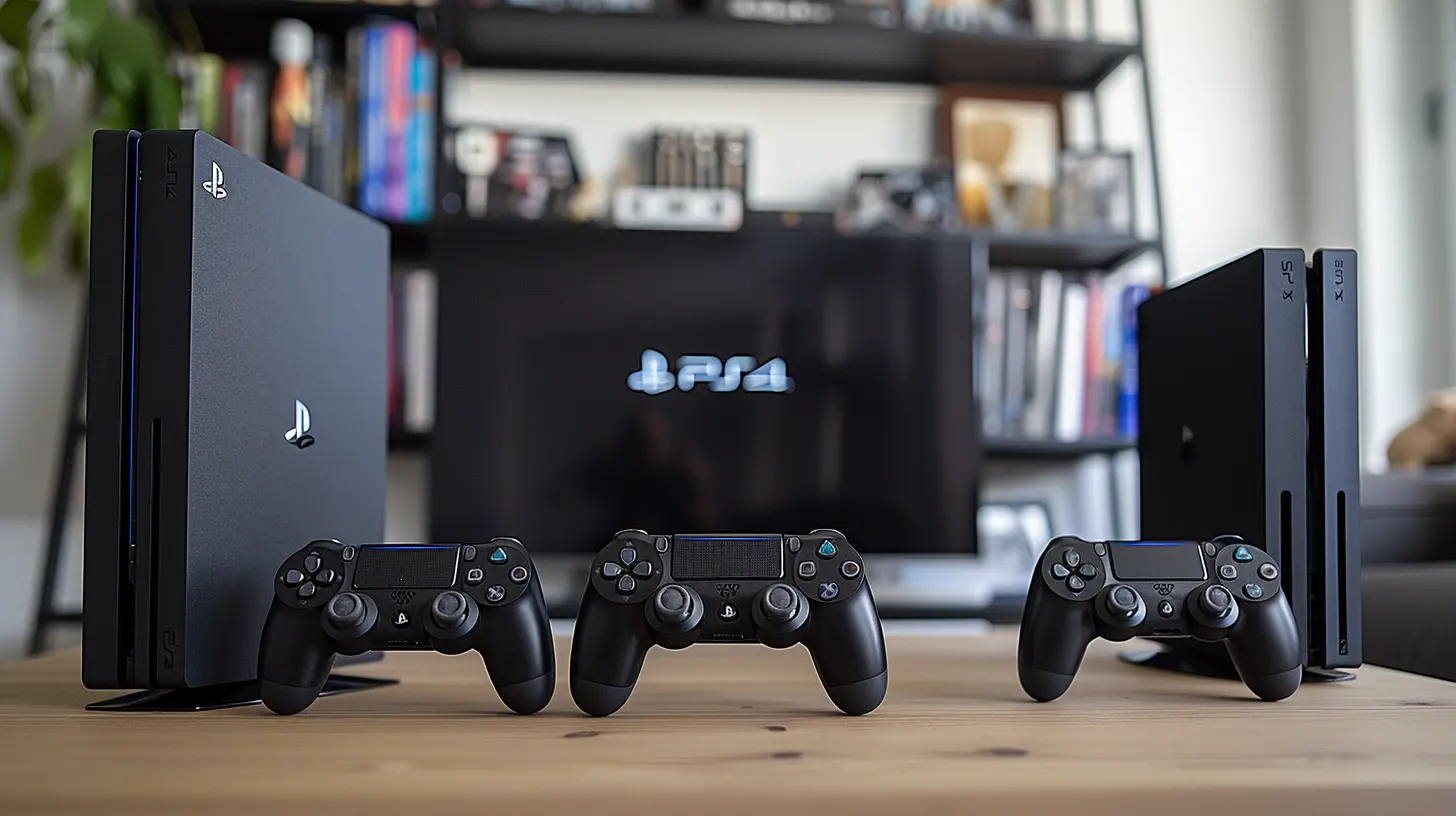
Cost Comparison: Balancing Budget & Performance
Let’s talk numbers. If you’re upgrading on a budget, external HDDs are your best bet. For around $50, you can snag a decent 2TB external HDD. That’s plenty of space for a large gaming library.On the other hand, SSDs—both external and internal—are more expensive. A 1TB SSD can cost anywhere between $90–$150, but you’ll enjoy faster load times and better performance.
If you don’t want to spend too much upfront, you can always go for an HDD first and upgrade to an SSD when your budget allows. 
Pro Tips to Save Even More Money
1. Shop During Sales: Look for discounts during Black Friday, Cyber Monday, or seasonal sales. Tech gadgets like storage drives usually get big price cuts then!2. Refurbished Drives: Don’t overlook refurbished or open-box options from reputable sellers. You can save a ton.
3. Buy Only the Storage You Need: If you’re not a collector and typically play a small pool of games, a 1TB upgrade might be all you need.
When to Make the Jump
Upgrading your PlayStation storage is a no-brainer once you’ve experienced the headache of storage limitations. Start small with an external drive if you’re just testing the waters or go big with an internal SSD if you’re all-in for the long haul. Either way, you’re setting yourself up for a smoother, more enjoyable gaming experience.Final Thoughts
Running out of PlayStation storage doesn’t have to ruin your gaming vibes. Whether you choose a budget-friendly external drive or decide to future-proof with an internal SSD, there’s a solution that fits every wallet. So, go ahead—upgrade your storage, install all your favorite games, and never deal with the “Not Enough Space” message again. Trust me, your gaming life just got a whole lot easier.all images in this post were generated using AI tools
Category:
PlaystationAuthor:

Lana Johnson
Discussion
rate this article
2 comments
Vivian Roth
This article piqued my interest! I'm eager to learn about affordable ways to boost my PlayStation storage. What are the best options for gamers on a budget? Can't wait to dive in and discover some hidden gems!
December 4, 2025 at 4:53 PM
Lana Johnson
I'm glad to hear you're interested! Check out budget-friendly options like external HDDs, SSDs, and upgrading to an internal SSD for better performance. Happy gaming!
Heath McPhail
Game on, wallet intact! 🎮💰
July 15, 2025 at 3:26 PM
Lana Johnson
Glad to hear you're ready to level up without overspending! 🎮💸